







Why the roof fan comes first, not last
Most self-build conversions start with the bed and the kitchen and treat ventilation as a finishing touch. Then the headlining goes in, the ribs disappear behind ply, and the ventilator ends up wherever a hole can still be cut. Fit it first. The cut-out is the one irreversible job in the whole build, and the fan sets where the cables run, where the inlets go and where the roof insulation has to be left thin.
This checklist is the sequence we walk converters through on the phone. It covers ten checks: airflow, voltage, position, cut-out size, roof thickness, the parts list, tools, cutting, sealing and wiring. Do them in order and the ventilator will fit first time. The general guidance on the camper page sits alongside it.
Checks 1 and 2: how much air, and which voltage
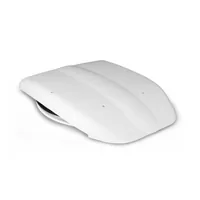
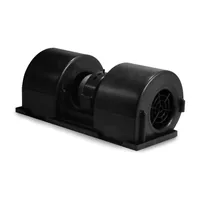
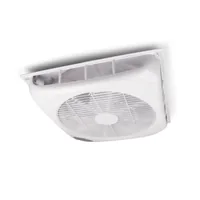
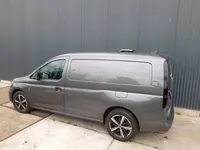
Check 1: airflow. Measure the internal body after insulation: length times width times height. A long-wheelbase high-roof van comes out around 11 to 13 m³. Multiply by the air changes you need, roughly 10 an hour for sleeping and up to 25 for cooking, and you have the m³/h to aim for. On that basis one full-size roof ventilator covers almost any van: the Le Mans and Round give 850 m³/h, the brushless Le Mans LL 515 m³/h at 12 V. The Winglet at 65 m³/h is a second vent for a toilet cubicle or wardrobe, not a main fan. If you will sleep in the van for more than a night at a time, plan on a speed controller from the outset, because a full-size fan on a low setting is both quieter and cheaper on battery than a small fan running hard.
Check 2: voltage. Vans are 12 V. Coaches, lorries and some minibus conversions are 24 V. Look at the battery bay: two batteries in series means 24 V. Order the ventilator, the switch and the controller in the matching version, and wire the fan to the leisure battery, not the starter battery, so a fan left running overnight cannot strand you in the morning.
Checks 3 and 4: position and cut-out size
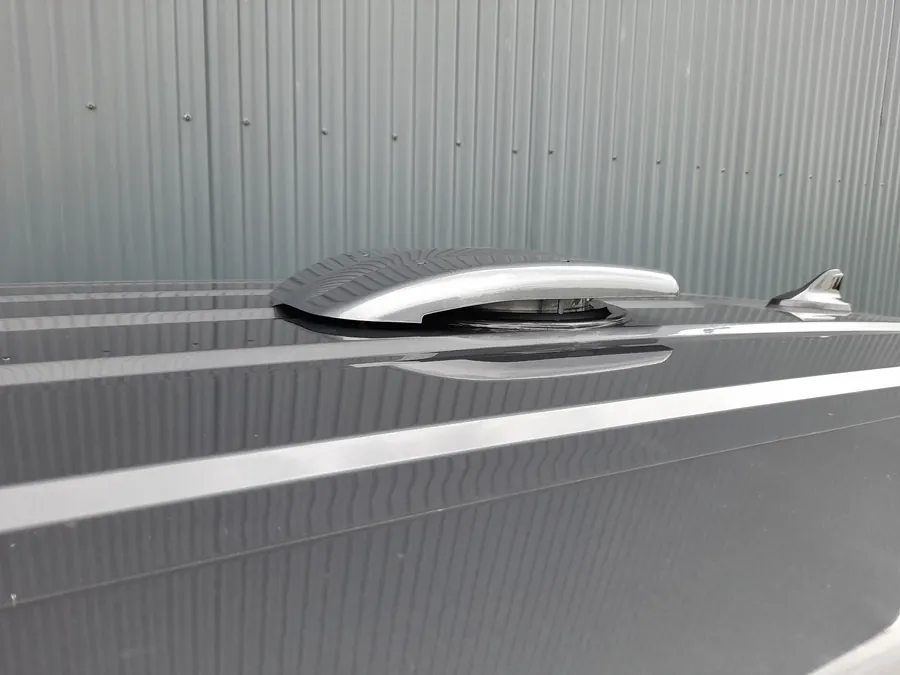
Check 3: position. Stand inside the van with the roof still bare and find the flat panels between the transverse ribs. The ventilator ring has to sit on a flat section with clearance from the ribs on every side. Outside, solar panels, roof bars and the awning rail all want the same space, so draw the roof to scale first. The extractor goes towards the rear, at the highest point of the roof, and the inlet goes low at the front, usually a floor ventilator near the sliding door. Avoid the rear edge where the roof curves down, because the ring will not sit flat.
Check 4: cut-out size. Each unit has one figure that decides everything:
| Ventilator | Roof cut-out | Outer footprint | Height above roof |
|---|---|---|---|
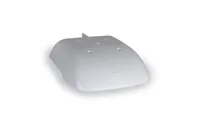
| Le Mans | Ø 230 mm | 385 x 312 mm | 64 mm |
| Le Mans LL | Ø 230 mm | similar to Le Mans | about 100 mm |
| Round | Ø 230 mm | Ø 320 mm | 62 mm |
| Turbo II wind-driven | Ø 128 mm | Ø 319 mm | 68 mm |
| Turbo III wind-driven | Ø 80 mm | Ø 210 mm | 59.5 mm |
| Winglet | Ø 80 mm | 230 x 196 mm | 52 mm |
| Exhaust ventilator (venturi) | up to Ø 140 mm | 285 x 185 mm | 50 mm |
The three full-size powered units share the 230 mm hole, so a Round today can become a Le Mans LL later. The Winglet and Turbo III share 80 mm. Mark the outer footprint on the roof as well as the hole, because the footprint is what has to clear the ribs and the solar frame. Check the overall height against any height limit you care about: a Le Mans adds 64 mm, the LL about 100 mm.
Checks 5 and 6: roof thickness and the full parts list
Check 5: roof thickness. Each mounting set clamps a range of roof thicknesses, and with insulation and a ply ceiling a 1 mm steel roof can become 40 mm or more. The Winglet and Turbo III standard sets take 1 to 17 mm; the Turbo II 1 to 21 mm. The full-size units mount to the steel skin with the interior valve fitted to the ceiling separately, so leave the insulation clear of the ring on the inside and finish the ceiling with a V12 interior valve or a Flower Power valve at Ø 290 or Ø 280 mm. If your roof is ribbed or corrugated, order Super Seal filler foam to fill the profile under the ring.
Check 6: the parts list. Order everything at once so the roof is only opened up one time:
- The ventilator itself in the right voltage and colour
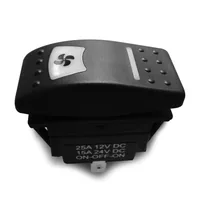
- A 3-way switch for a reversible unit, or a rocker switch for a Winglet
- The Speedcontrol 30-3004, or the LL with integrated control (02-4250 at 12 V)
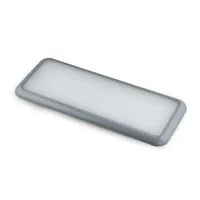
- An interior valve to finish the ceiling and close the opening in winter
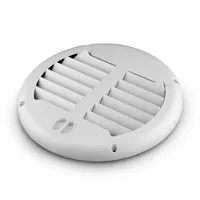
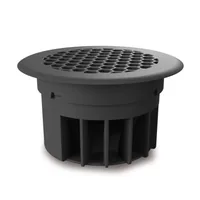
- A floor ventilator, Ø 80 or Ø 129 mm, as the inlet
- A snow filter if the van winters outside (Le Mans and Round only)
- Filler foam for a ribbed roof, plus a cartridge of polyurethane or MS polymer roof sealant
- Cable, inline fuse holder with a 10 A fuse, crimp terminals for 6.3 mm connectors
Checks 7 and 8: tools and the cut itself
Check 7: tools. A jigsaw with fine metal blades, or a nibbler if you have one, a step drill or hole saw for the pilot, a file, a deburring tool, masking tape, a marker, a rust-inhibiting primer, a sealant gun and a vacuum. The saw template supplied with the ventilator is your friend: tape it to the roof and trace it rather than measuring a circle yourself.
Check 8: the cut. Work in this order and it goes smoothly:
- Cover the area in masking tape so the jigsaw shoe does not scratch the paint, then trace the template onto the tape.
- Drill a pilot hole inside the line, big enough for the blade. Check from inside that nothing runs under the panel: no cable, no roof rib, no brake line on a coachbuilt body.
- Cut slowly, supporting the cut-out from below so it does not drop and tear the last few millimetres.
- File the edge smooth, deburr both faces, vacuum every filing off the roof and out of the van. Steel swarf left on a painted roof rusts within a week.
- Prime the bare edge and let it dry before anything touches it.
A 230 mm hole between the ribs does not weaken a van roof once the ring is clamped on; the ring stiffens the edge. What does cause trouble is a hole cut over a rib, so if the template will not sit flat, move it.
Checks 9 and 10: sealing and wiring
Check 9: sealing. Dry fit the ventilator first and confirm the ring sits flat with no daylight under it. On a ribbed roof, lay the filler foam along the profile so the sealant has something to bear on. Apply a continuous bead of sealant to the underside of the ring, lower it into place, and tighten the fixings evenly in a star pattern until sealant just squeezes out all round. Do not overtighten. Wipe the excess, let it cure, then hose it the next day and check inside with a torch.
Check 10: wiring. The fan circuit is short: leisure battery positive, fuse close to the battery, Speedcontrol if fitted, 3-way switch, motor, and negative back to the battery. A Le Mans draws about 6 A at 12 V, so 2.5 mm² cable and a 10 A fuse suit a run of a few metres. Route the cable along a rib and through a grommet, never across a cut edge. Mount the switch and the knob within reach of the bed and label extract and supply. Test every switch position and the full range of the controller before the interior valve goes on, because once the ceiling is closed a wiring fault is an afternoon's work.
Printable checklist
Copy this into your build notes and tick as you go:
- 1. Body volume measured, target m³/h chosen, one full-size fan or Winglet decided
- 2. Vehicle voltage confirmed at the battery, leisure circuit identified
- 3. Position drawn to scale, clear of ribs, solar, bars and the roof curve
- 4. Cut-out and outer footprint marked: 230, 128 or 80 mm
- 5. Roof thickness measured with insulation, valve or mounting set chosen
- 6. Complete parts list ordered in one go, including foam, sealant, fuse and cable
- 7. Jigsaw, fine blades, step drill, file, tape, primer, sealant gun ready
- 8. Template taped, pilot drilled, underside checked, cut supported, edge primed
- 9. Dry fit, foam, continuous bead, even tightening, cure, hose test
- 10. Fuse at battery, controller before switch, every position tested, labelled
If anything on the list is unclear, take a photo of the roof and the battery bay and send it to us. We are an independent European specialist retailer with the full range in our own stock in the Netherlands, we ship within 24 hours, and we would rather answer the question before the jigsaw comes out than after.
Frequently asked
Should I fit the roof ventilator before or after insulating the roof?
Cut the hole and mount the ventilator to the bare steel first, then insulate around it, then fit the interior valve to the finished ceiling. That way the ring clamps to the skin as designed and you can inspect the seal from inside before it is covered.
Can I fit a roof ventilator next to a solar panel?
Yes, but leave clearance for the outer footprint, 385 x 312 mm for a Le Mans, plus room to get a sealant gun and a screwdriver round the ring. Put the ventilator behind the panel in the direction of travel so the panel does not shade the fan hood into a pocket of still air.
Which sealant should I use on a van roof?
A polyurethane or MS polymer sealant intended for vehicle bodies, applied as one continuous bead under the ring. Do not use silicone: it does not adhere well to painted steel, and nothing else will stick to it later if you ever need to reseal.
Do I really need an inlet if I have a roof extractor?
Yes. With the doors and windows shut a sealed van gives the fan nothing to pull from, and airflow collapses. A Ø 80 or Ø 129 mm floor ventilator near the front is the usual answer; a cracked window works only until it rains.