






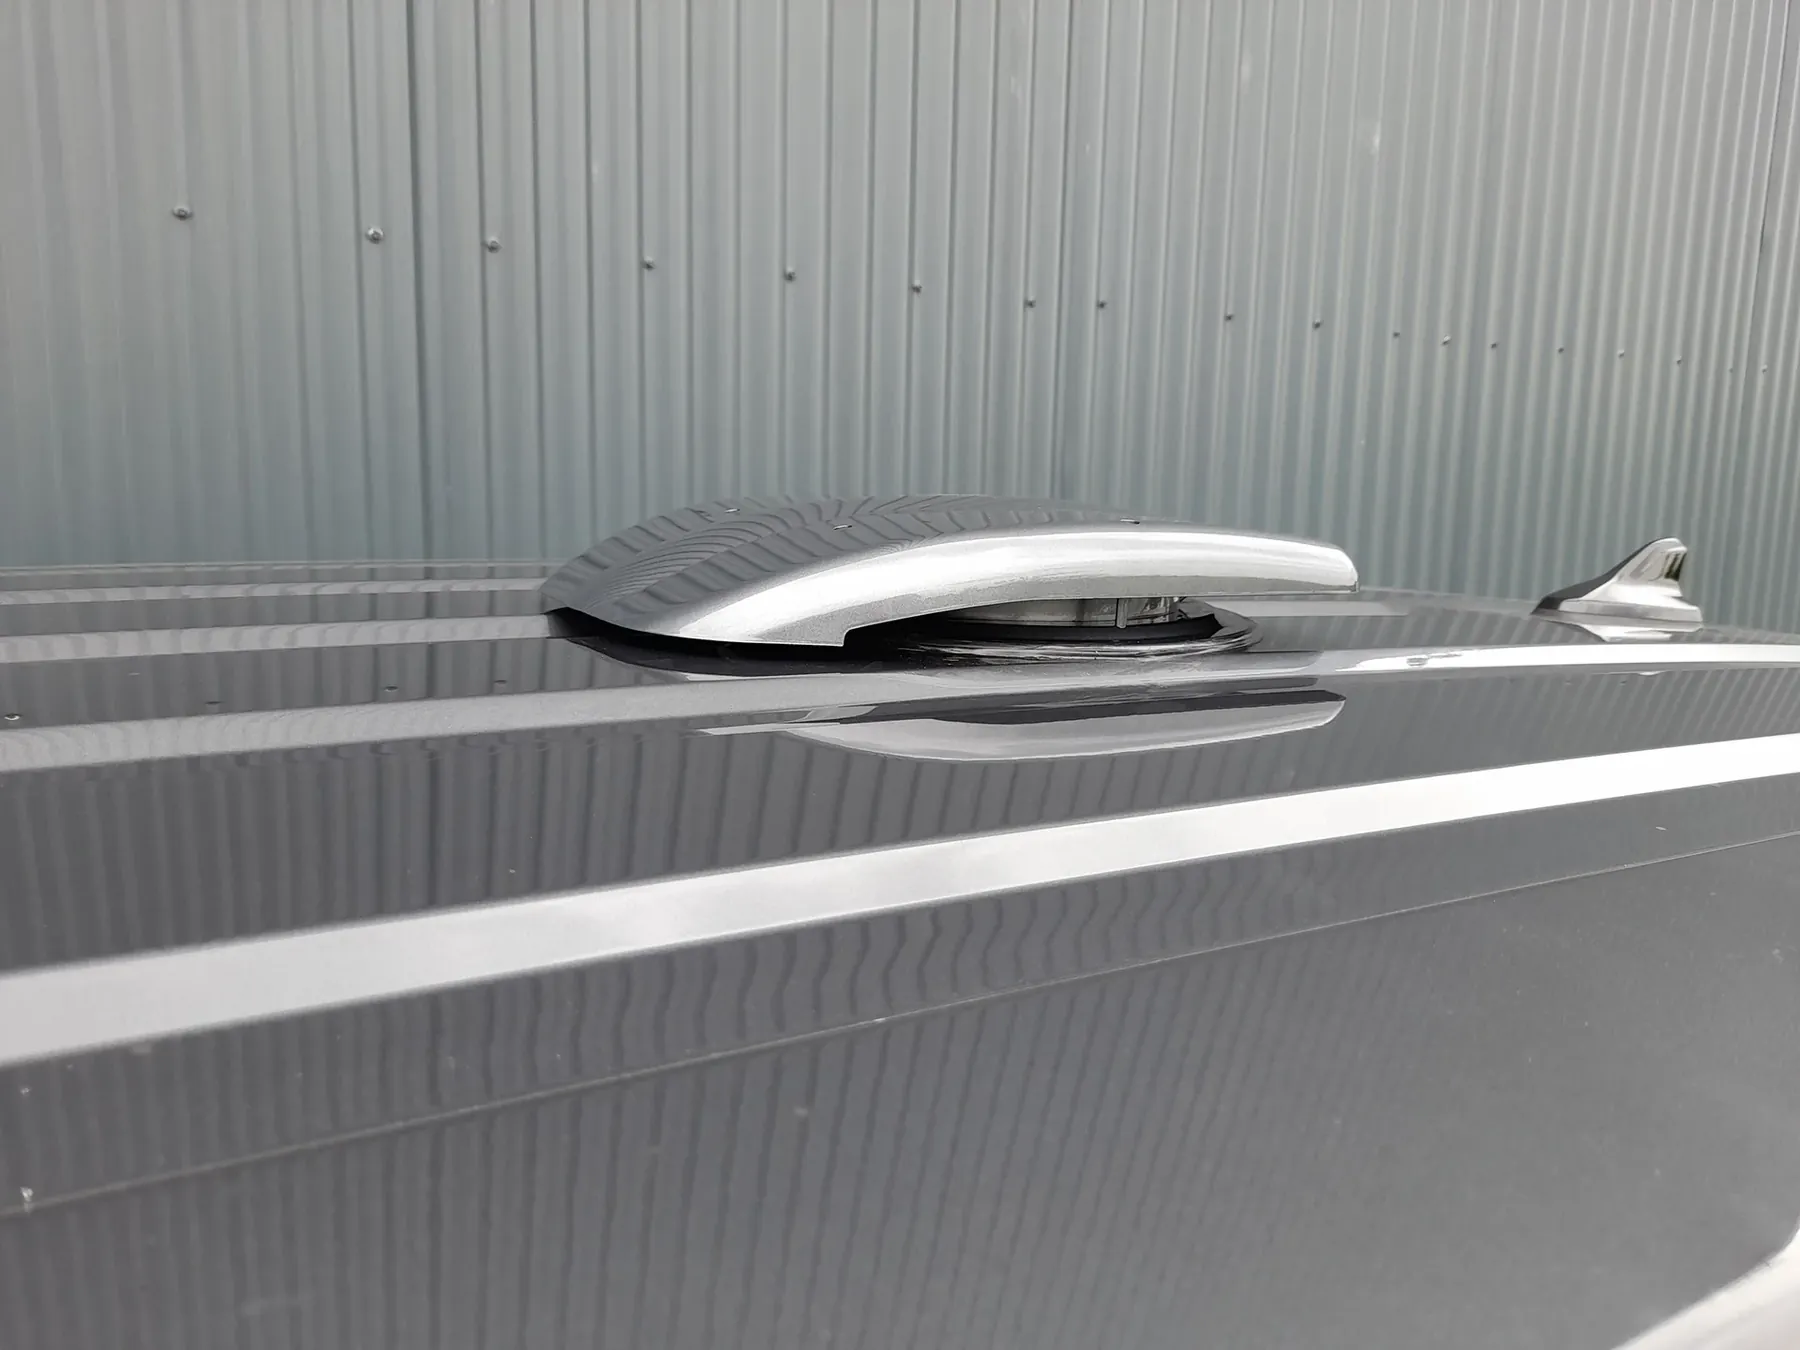
Before you pick up a tool
Choosing the position
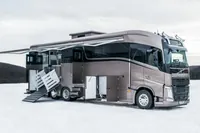
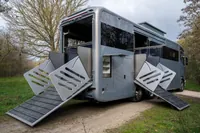
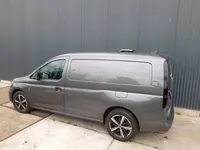
Extraction works best from the highest point of the space and from the area that produces the most heat or moisture: above the bed or cooking area in a camper, above the stalls in a horse trailer, over the load area in a commercial van. Look at the roof from inside first. You need a flat area with room for the internal frame, clear of roof ribs, cross members, cables, aerial leads and the water channels of any awning or roof rack.
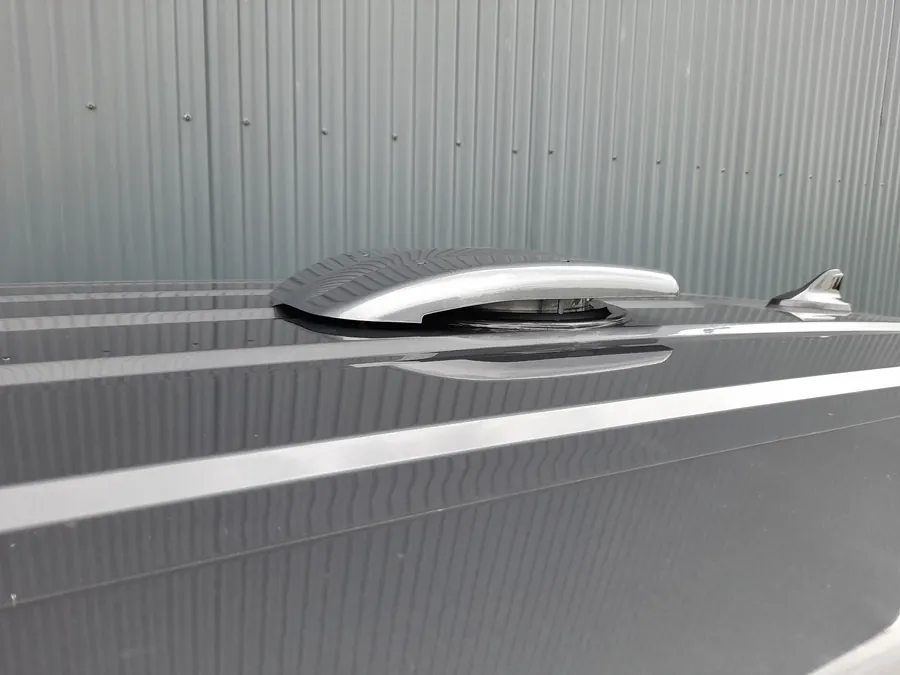
Then look from outside. Avoid the roof's lowest points where water pools, and leave clearance from roof bars, solar panels and air conditioning units so the cover is not sitting in their drips. On a ribbed van roof the cut-out will often straddle a rib; that is normal, and the sealing method below deals with it. Drill a small pilot hole at the centre from inside so you can confirm the position from the roof before committing.
Cutting the 230 mm hole
Mask the area on the roof with wide tape, both to protect the paint and to give you a surface you can draw on. Scribe the 230 mm circle around your pilot hole. With a hole saw, run it at low speed with steady pressure and let the teeth do the work; a fast, hot hole saw tears aluminium and skates on steel. With a jigsaw, drill a starter hole inside the line and cut steadily, supporting the offcut so it does not drop through and tear the last few millimetres.
Deburr the edge thoroughly. Sharp edges cut cables and give corrosion a place to start. On a steel roof, treat the bare edge with primer or a rust-preventive paint and let it dry before you seal. On an aluminium or GRP roof a clean edge is enough, but remove all swarf from inside the vehicle and from the roof surface; a single steel filing left under the flange will stain and eventually corrode.
Dry-fit the base with no sealant. It should sit flat with the flange in contact all the way round. If a rib lifts one side, a spacer or adapter frame brings the flange level, so that the sealant does the sealing rather than the fixings.
Sealing so it never leaks
The sealant, not the screws, keeps the water out. Apply a continuous bead to the underside of the flange, closed at both ends so there is no gap, and a ring around each fixing hole. Lower the base into place, press it down evenly, and fit the fixings finger-tight in a cross pattern before tightening them progressively. You want the sealant to squeeze out slightly all the way round; that squeeze-out is your visual proof of a full seal. Do not overtighten, because a flange bowed by too much torque opens a gap at the corners.
Tool the squeeze-out into a neat fillet with a wetted finger or a spatula, so water runs off rather than sitting against the edge. Then leave it alone. Most vehicle sealants skin in under an hour but take a day or more to cure fully, and the roof should not be pressure-washed in that time. Fit the internal trim frame and the fan unit from below once the outside is done.
Wiring the three-way switch: blow, off, suck
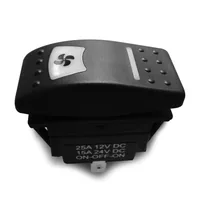
The rooftop ventilator is reversible. The three-position switch gives you 'blow' (air in), 'off' in the centre and 'suck' (air out). On the brushed Le Mans and Round, reversing the direction is done by swapping the polarity to the motor, and the switch does that internally, so you only have four connections to make: supply positive, supply negative, and the two motor leads. The brushless Le Mans LL has its own electronics, so follow the diagram in its box rather than assuming the same connections.
Run the supply from a fused point on the correct circuit; on a camper that is the leisure battery. Fit the fuse as close to the battery as you can, and size the cable for the current and the length of the run. As a rule of thumb, a long run to the roof on a 12 V system needs a heavier cable than people first reach for, because voltage drop on 12 V shows up as a slow fan. Route the cable away from sharp edges and use grommets wherever it passes through metal.
Connect the switch according to its diagram, with the motor leads on the reversing terminals. Before you tuck everything away, test all three positions: the fan should stop in the centre and change direction between the two outer positions. If it turns the wrong way for your labels, swap the two motor leads. If you would like variable speed as well, the speed controller sits between the switch and the fan and lets you turn the ventilator down for quiet overnight running.
Checking for leaks and finishing off
Once the sealant has cured, test with a hose from above while a helper inside watches the edge of the cut-out with a torch. Start with a gentle flow around the flange, then a heavier one for a few minutes. Look particularly at the downhill side and at any point where the flange crossed a rib. A slight weep there is almost always a gap in the bead at that point, not a fault with the ventilator, and it is cured by cleaning the area and applying a small additional fillet.
Inside, fit the trim so it covers the cut-out edge fully, secure any cable that could rub, and label the fuse. Then run the fan on 'suck' for a few minutes and feel for air being drawn in at the doors. If the flow feels weak, the vehicle is too well sealed and needs an inlet, such as a floor ventilator or an interior valve, to let air in.
Which ventilator for which job
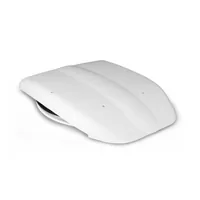
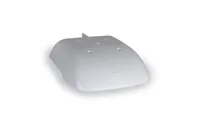
The Le Mans moves up to 850 m3/h and is the all-rounder for campers, vans and horse trailers where quick air changes matter. The brushless Le Mans LL gives 515 to 565 m3/h at around 34 W, which makes it the quieter, lower-current choice for overnight use and for vehicles that rely on a small battery. The Round shares the 850 m3/h output in a round housing that some builders prefer on a curved roof.
All three fit the same 230 mm hole, so you can decide late in the build and still follow exactly the steps above. If you are unsure which suits your vehicle, or you have a roof construction you are not sure about cutting, send us a photo via the contact page before you start. We would rather help you get the first hole right than help you fix it.
Frequently asked
Can I install a rooftop ventilator myself?
Yes, if you are comfortable with basic 12 V or 24 V wiring and cutting sheet metal carefully. It is a half-day job for a first-timer with the right hole saw.
Which sealant should I use?
A polyurethane or MS-polymer sealant sold for vehicle body work. Avoid bathroom silicone, which does not bond well to painted metal and can be hard to remove later.
What does the three-way switch actually do?
On a brushed motor it reverses the polarity. One outer position blows air in, the centre is off, the other outer position sucks air out. For the brushless Le Mans LL, follow the diagram supplied with the unit.
How soon after sealing can I drive the vehicle?
Driving is fine once the sealant has skinned, usually within an hour. Avoid pressure washing or car washes until it has fully cured, which can take a day or more.